You tie a knot, pull it snug, and it looks fine. Then the bracelet sits crooked on the wrist, the plant hanger sags to one side, or the lanyard works loose after a week in a pocket. Most of the time the culprit is not the knot pattern itself. It is one of five small habits that creep in when your hands are moving faster than your eyes. The good news: every one of them is easy to see once you know where to look, and each has a drill that takes a few minutes to run. Grab a metre of cord in two colours if you have it, and let's work through them.
Mistake One: Letting Strands Cross Inside the Knot
A knot is a system of friction. Strands are supposed to lie side by side, each one pressed flat against its neighbour, so the load is spread across the whole surface. When two strands cross each other inside the knot, they touch at a single point instead. That point takes all the strain, the knot becomes lumpy, and under load it can roll or capsize into a shape you never intended.
The classic example is the square knot. Tied correctly — right over left, then left over right — the two tails exit parallel to the standing parts and the knot lies flat. Tie both half-knots the same way and you have a granny knot: the tails exit at an angle, the knot sits twisted, and it slips far more readily. It looks almost right, which is exactly why it survives for years in people's hands.
The fix
Slow down for the last two moves. Before you tighten, lay the knot flat on the table and trace each strand with a fingertip from one end to the other. You should be able to follow a clean path without jumping over anything. If your finger has to hop, a strand is crossed.
The two-colour drill
Tie the same knot ten times with two colours of cord, one colour per working strand. The crossing shows up immediately as a colour that disappears under its neighbour and reappears on the wrong side. Do this until you can predict the pattern before you pull it tight, then go back to single-colour cord and check with your fingers.
Mistake Two: Stopping Before the Knot Is Dressed
Dressing is the unglamorous half of tying. It means working the slack out of the knot progressively — from the standing part, through the middle, out to the tails — so every turn settles into its final position before the knot is loaded. Most people haul on the tails and call it done. That locks the crossings in place, and any twist or overlap you created stays there permanently.
Undressed knots are also unpredictable. A clove hitch that has not been dressed can roll under a sideways load; a bowline with a kinked collar can shake loose when the line goes slack. On a decorative piece, an undressed knot shows as a slightly fat, slightly crooked bump that no amount of tugging will flatten afterwards.
The three-tug sequence
Once the knot is formed, work in this order:
- Tug the standing parts gently to close the collar or the core, without touching the tails.
- Tug each tail in turn, one at a time, to seat the individual turns.
- Tug the standing parts again to settle everything, then check symmetry with your thumb and forefinger.
If a knot has to be forced into shape, it is not finished — it is just tight.
Mistake Three: Tails That Are Too Short, or Absurdly Long
The tail is the part that keeps the knot from untying itself. Too short, and the knot has nothing to grab when the line is cycled or shaken; the tail creeps back through and the knot spills. Too long on a decorative piece, and you have an untidy flop of cord that frays, catches on things, and never looks deliberate.
A workable rule of thumb is a tail of at least ten rope diameters — roughly 4 cm on 4 mm cord — and more where the knot will be handled, washed, or loaded and unloaded repeatedly. Decorative work has its own convention: tails are either trimmed short and finished, or left long enough to tuck and whip neatly.
The fix
- Do not trim until the knot has settled. Tie it, load it lightly once, and let it seat. A knot can swallow a few millimetres on its first real pull.
- Make a tail gauge. Cut a notch in a scrap of card at your preferred tail length and hold it against the knot instead of guessing.
- Finish the end properly — a hot-knife cut and press for synthetic cord, a whipping for natural fibre, or a small stopper knot where the design allows.
Mistake Four: Pulling One Strand and Loading the Knot Unevenly
Two identical loops on a hanger should carry the same share of the weight. If one is cinched hard and the other is barely seated, the tight one does most of the work and the loose one drifts. The same thing happens on a smaller scale inside a single knot: yank one tail and the internal turns shift unevenly, so the knot takes on a slight lean.
You can see this most clearly on multi-strand work — macramé, paracord bracelets, jute plant hangers. A row of square knots that looks fine on the board will hang crooked within a day because one side was tensioned harder than the other.
The fix
Tighten in pairs and in sequence. For a symmetrical knot, close the core first, then take the two opposing tails and pull them apart with equal pressure, feeling for the moment both sides go firm at the same time. If you cannot feel the difference, close your eyes — your hands notice uneven tension long before your eyes do.
Mistake Five: Tying on Autopilot With the Wrong Cord
A knot that behaves beautifully in 5 mm cotton can be a poor choice in slick, springy synthetic cord, and vice versa. Slippery lines need an extra tuck or a backup knot; stiff natural fibre needs a knot with generous curves, or it will sit proud and refuse to dress. Tying the same pattern out of habit, without asking whether the cord suits it, is how good craftspeople end up with fittings that fail.
Two quick tests before you commit to a pattern:
- The bend test. Fold the cord back on itself. If it kinks sharply and holds the crease, favour knots with rounded turns. If it springs straight, favour knots with more turns and a locking tuck.
- The settle test. Tie the knot on a scrap, load it firmly, release, and look. If it has deformed or the tail has shortened noticeably, add a stopper or choose a grippier structure.
And note the conditions the piece will live in: sun, salt water, abrasion against a metal ring, repeated flexing. Cotton in a wet garden and paracord on a hot dashboard both age faster than the knot pattern assumes.
A Ten-Minute Drill Session That Fixes All Five
Run this once a week until the habits stick. Keep a dedicated practice cord — two colours if possible — and a tail gauge in your kit.
- Minute 1–2: Tie your most-used knot five times, slowly, checking the strand path flat on the table before every tighten.
- Minute 3–4: Tie the same knot five more times using the three-tug dress sequence. No tugging on tails first.
- Minute 5–6: Tie it with your eyes closed. If you can feel a crossing, you have learned what a good knot feels like.
- Minute 7–8: Tie it in a cord you dislike — too slippery, too stiff — and note what changes.
- Minute 9–10: Load each sample once, inspect, and trim tails to the gauge.
Do this and the corrections become automatic. Your knots will sit flatter, hold longer, and look like they were made on purpose — which, from now on, they will be.
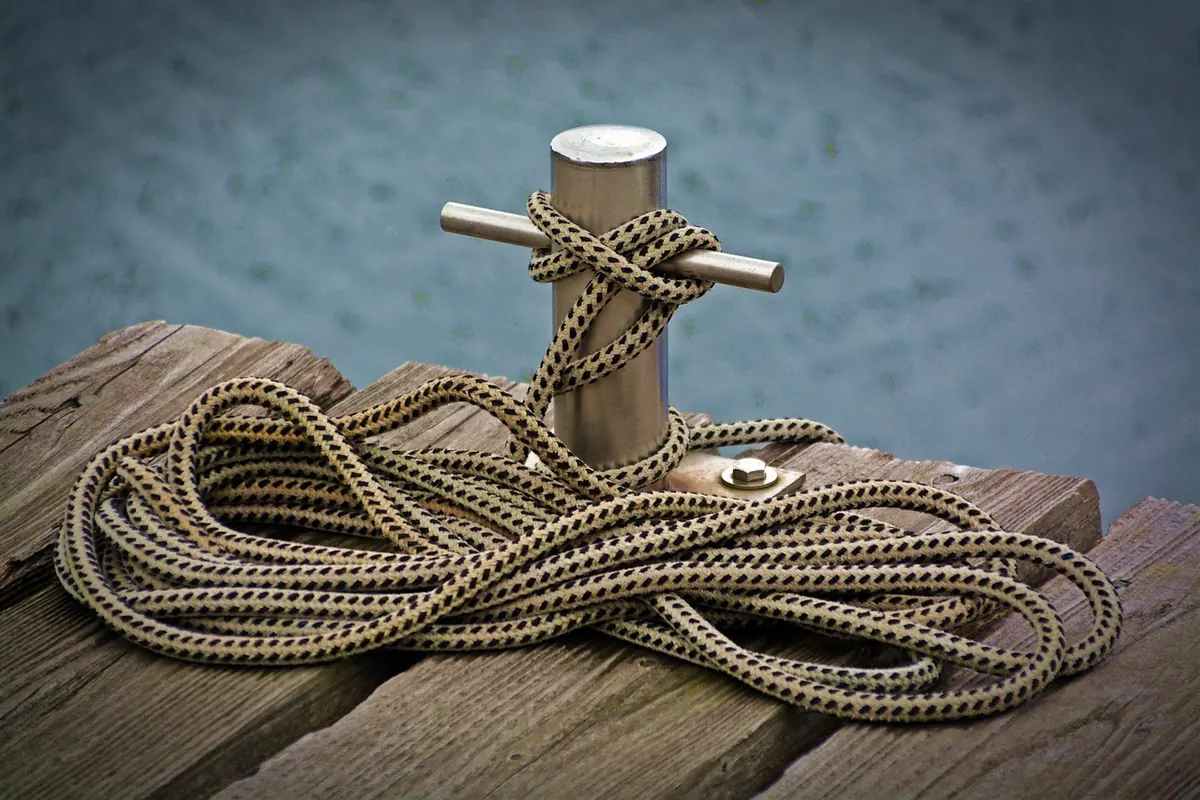
Photo: bernswaelz / Pixabay