There is a particular kind of frustration that comes from finishing a knot only to find your two ends don't meet, or watching a fresh cut of jute unravel across the table while you are still measuring the next length. Rope work is forgiving about a lot of things. It is not forgiving about preparation. Ten careful minutes before the first knot will save you an hour of unpicking, re-cutting and muttering later. Here is what to do before you start.
Know Your Finished Dimensions Before You Cut
A pattern tells you the finished size, not the length of rope you need. Every knot consumes material: the cord doubles back on itself, disappears into the knot's belly and comes out shorter than it went in. Splices, braids and wrapped sections eat even more. If you cut exactly the finished length, you will always come up short.
Rather than trusting a rule of thumb, tie one sample knot in the exact cord you plan to use and measure how much rope vanishes. A simple overhand in 8 mm cotton might cost you a few centimetres; a bulky diamond knot or a crown sinnet costs far more. Multiply that figure by the number of knots in the design, then add your finishing allowance for splices, fringe or a hanging loop.
Check the fibre, too. Nylon stretches noticeably under load, polyester less so, and natural fibres vary from batch to batch. If a piece needs to fit something specific, such as a handle, a rail or a wrist, measure the object itself and work backwards from there. For anything load-bearing, use rated cord and follow the manufacturer's guidance rather than treating craft measurements as engineering.
Measure Under Gentle Tension
Rope straight off a coil is kinked and relaxed. Laid on the floor without tension, it measures long; pulled tight, it measures short. Find the middle ground: stretch just enough to take out the waves, no more. Then mark.
Painter's tape wrapped around the cord makes a better marker than pen, especially on dark rope, and it gives you something to feel as well as see. Pencil and chalk rub off quickly, and ink on wet or oily cord smears. If you are cutting several pieces, label each tape band with its length as you measure, so a pile of near-identical cords doesn't turn into a guessing game.
One more habit worth adopting: cut from longest to shortest. If you make a mistake on a two-metre length, the offcut often still serves for a shorter piece later. Cut the small ones first and you lose that safety net.
Cutting: Sharp Tools, Taped Bundles, One Clean Pass
Blunt tools fray rope. Use sharp shears for natural fibres, a hot knife or lighter for synthetics, and a rotary cutter on a mat for thin cord such as paracord or hemp twine. Keep your good fabric scissors away from synthetic rope, which is abrasive enough to dull them quickly.
Before cutting natural-fibre cord, wrap masking tape twice around the cut point and slice through the middle of the tape band. The tape holds the fibres together long enough for you to seal or whip the end, and it gives you a straight edge to follow. Work on a scrap board or cutting mat, and make one firm, confident pass. Sawing back and forth is what produces the fuzzy, tapered ends that ruin a tidy finish.
For rope heavier than about 10 mm, tape the cut point, lay it on a board and use a sharp craft knife in a single draw, or a hot knife if the fibre allows it. Brace the rope so it cannot roll.
Sealing Ends: Match the Method to the Fibre
Synthetics: nylon, polyester, polypropylene, paracord
These melt, so the cut edge can be fused into a rounded bead that will not unravel. Hold the end against the side of a flame rather than the tip, rotating slowly, until the fibres just begin to soften and draw together. Aim for a smooth bead, not a blackened blob. A hot knife does the cutting and sealing in one motion and is far more consistent for thin cord.
If the bead sets spiky, press it flat while it is still soft against a heatproof surface with the back of a metal spoon, then smooth it with a fine sanding block. Melted ends generate fumes, so work near an open window or outdoors, tie long hair back and keep the hot knife resting on a ceramic tile, well away from children and pets.
For paracord, slide the outer sheath back a few millimetres, trim the inner core slightly shorter, then melt the sheath so it seals over the core. The result is a clean, flexible tip that still threads through a lacing needle.
Natural fibres: cotton, jute, hemp, manila, sisal
These will not melt, and a flame will only char them. Your options are whipping, glue or a stopper knot. Whipping is the durable choice: wrap waxed thread or whipping twine tightly around the end for roughly one and a half times the rope's diameter, then finish with two half hitches pulled snug and trimmed. For decorative work, clear-drying fabric glue or slightly thinned white glue brushed into the tip works well; leave it to cure flat so it doesn't run. A simple overhand stopper knot is the quickest fix when the end will be hidden inside the design anyway.
Set Up the Workspace Before the First Cut
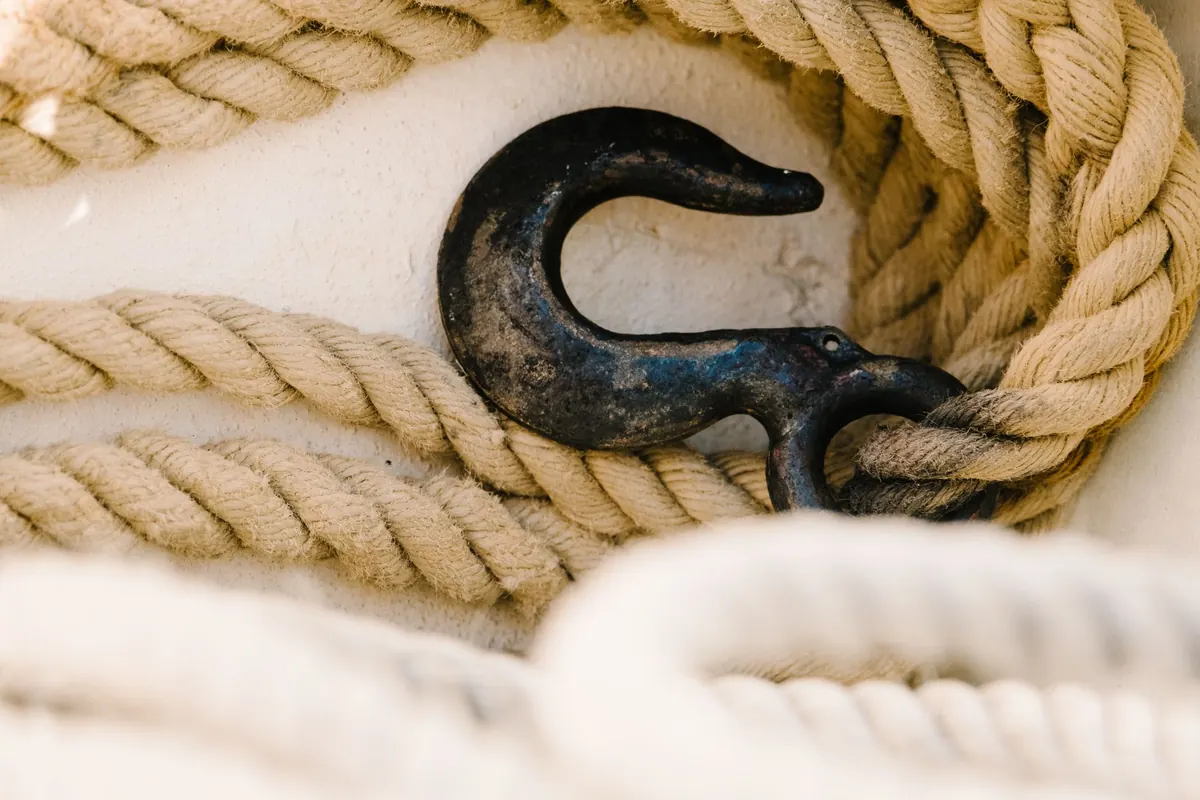
Long cords drag, pick up grit and take the shape of whatever they lie across. Clear a flat surface at least a metre square, and rig an anchor at roughly chest height, either a clamp on the table edge or a hook in a beam. Working against an anchor keeps tension even and leaves both hands free.
Put your light over your shoulder rather than directly overhead, so shadows fall away from the knot instead of into it. Keep a small tray for offcuts, a sanding block for melted tips, a damp cloth for glue and a ceramic tile for anything hot. Sweep the floor, too: nothing dulls a finished piece faster than a cord that has been lying in dust.
The Five-Minute Pre-Project Checklist
- Pattern checked. Finished dimensions written down, not just remembered.
- Allowance calculated. Sample knot measured in the actual cord.
- Cord inspected. No weak spots, no mildewed patches, consistent colour across lengths.
- Lengths measured under gentle tension and labelled with tape.
- Tools laid out. Sharp shears, craft knife or hot knife, cutting mat, masking tape.
- Sealing method chosen to match the fibre, with the right supplies within reach.
- Workspace cleared with an anchor at chest height and light from over the shoulder.
- Offcut tray in place so short remnants stay usable.
Make Prep a Habit, Not a Chore
The first few times, working through this list feels slow. By the fourth or fifth project it becomes automatic, and you will notice the change in your results before you notice the time it takes. Clean ends sit better against a knot. Accurate lengths mean your design ends where it is supposed to. Sealed tips mean a piece survives being carried in a pocket for a month.
If you only take one thing from this, make it the sealing step. A beautifully tied knot sitting on a frayed, fuzzy end looks unfinished every time, and it is the one flaw that no amount of careful knotting can hide. Measure, cut, seal, then enjoy the tying.
Photo: Nile / Pixabay